
How do I enable geofencing for a Form QR Code?
Geofencing lets you restrict form access to one or more geographic areas defined by latitude, longitude, and radius.
Follow these steps to enable geofencing for your form QR code:
-
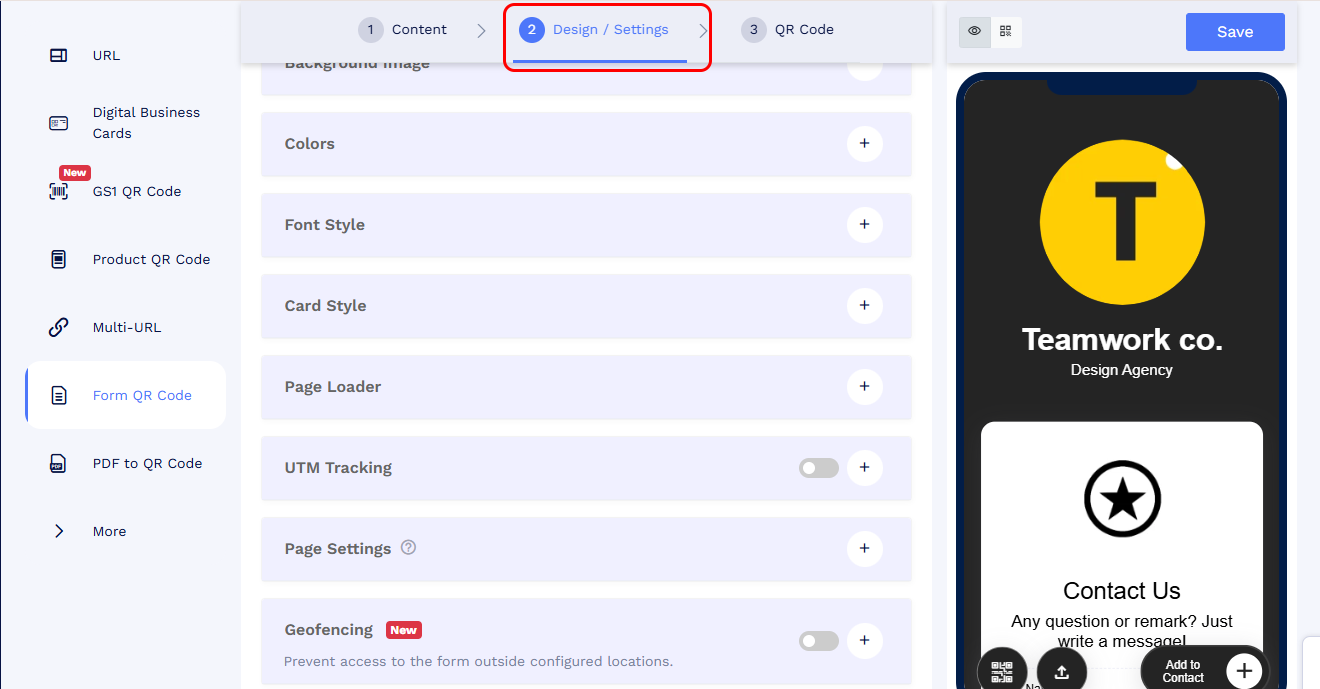
Open your Form QR Code and go to the Design / Settings tab.
-
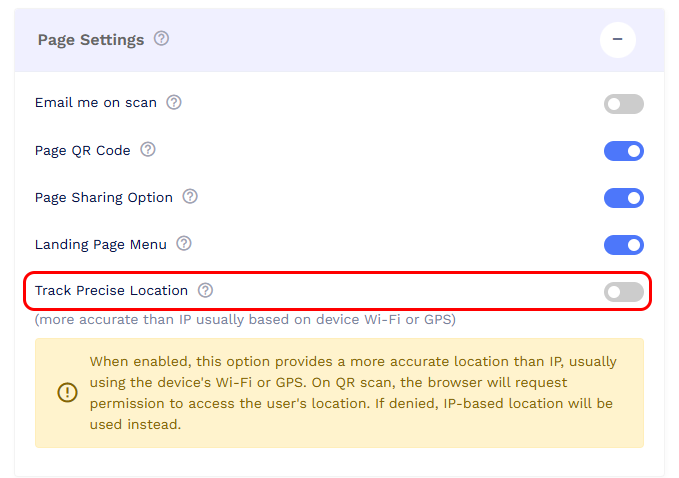
Expand Page Settings and enable Track precise location.
-
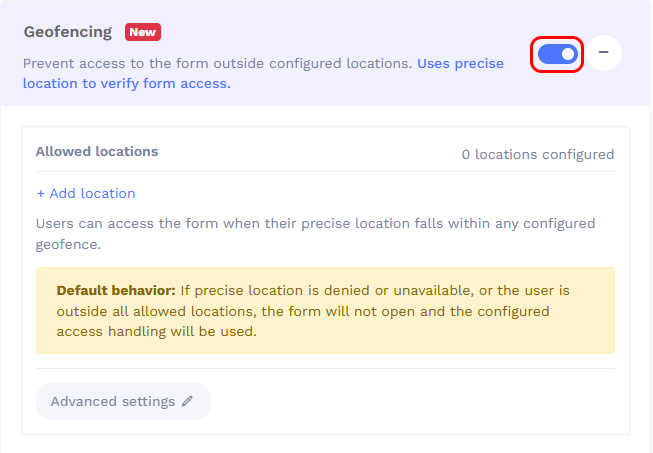
Turn on Geofencing and expand the section.
-
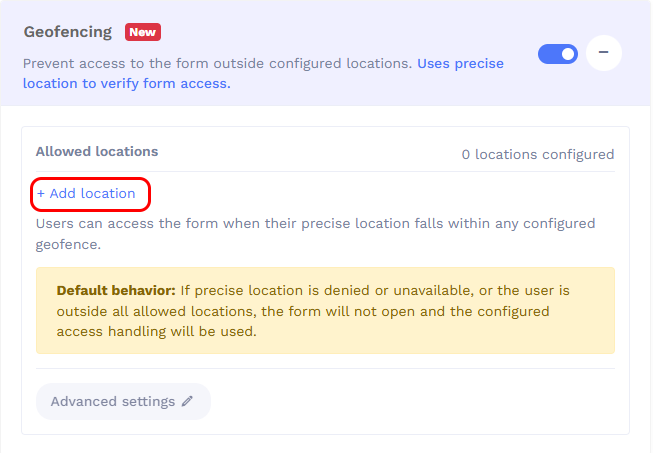
Under Allowed locations, click + Add location.
- Set the location using the map or enter its latitude and longitude.
-
Enter the radius and select the distance unit.
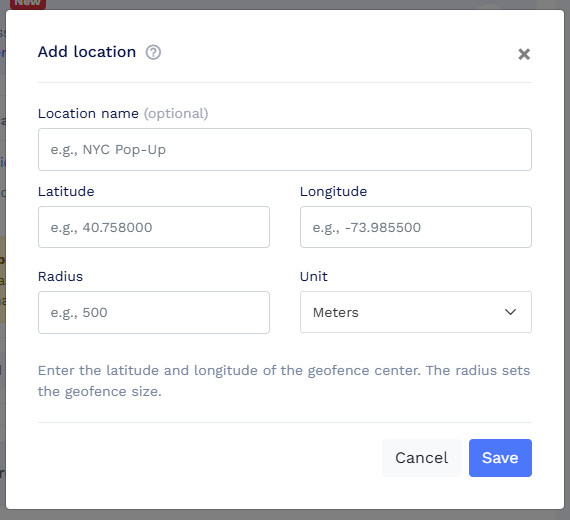
- Click Save to add the location. You can add multiple allowed locations if needed.
- Expand Advanced settings to customize how location-based access is handled:
- Pre-location message: Enable or disable the message shown before requesting precise location. You can customize its heading, message, and button labels.
- If precise location is unavailable: Choose to show a message, redirect to a URL, or use approximate IP-based location.
-
If outside allowed locations: Choose to show an access-denied message or redirect users to another URL.
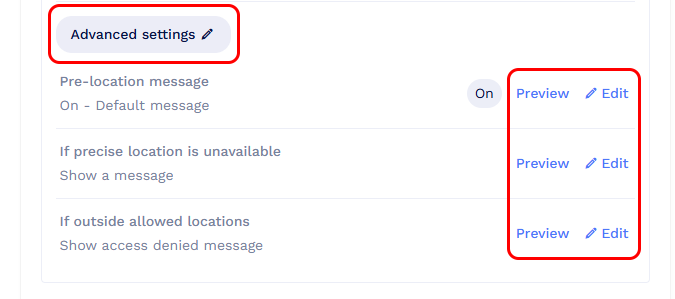
- Save your Form QR Code to apply the settings.
Test your geofencing settings
Before sharing the Form QR Code:
- Open it from within an allowed area and allow location access to check that the form opens.
- Open it from outside all allowed areas and check that the configured message or redirect appears.
- Deny location permission, or select Continue without precise location if that option is displayed, and check that your configured handling applies.
Note: Message previews show how the messages look. Open the saved Form QR Code on a device to test actual location-based access.