How do I register an app in Google for Custom Branding in SSO integration with QRCodeChimp?
To use custom branding in QRCodeChimp's Google SSO Integration for automatically creating digital business cards for configured domains, you need to register an app in Google Cloud and connect it with your QRCodeChimp account.
Follow these steps:
- Go to the Google SSO setup section in your QRCodeChimp dashboard.
-
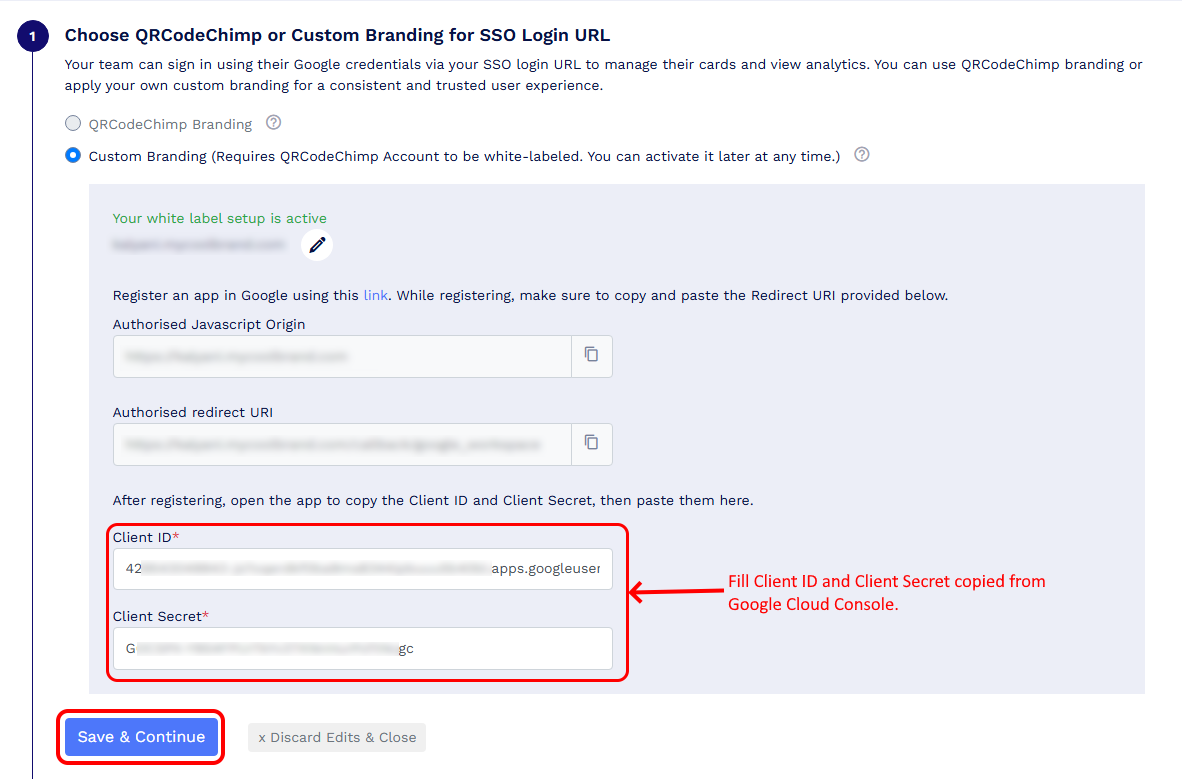
Select Custom Branding in Choose QRCodeChimp or Custom Branding for SSO Login URL.
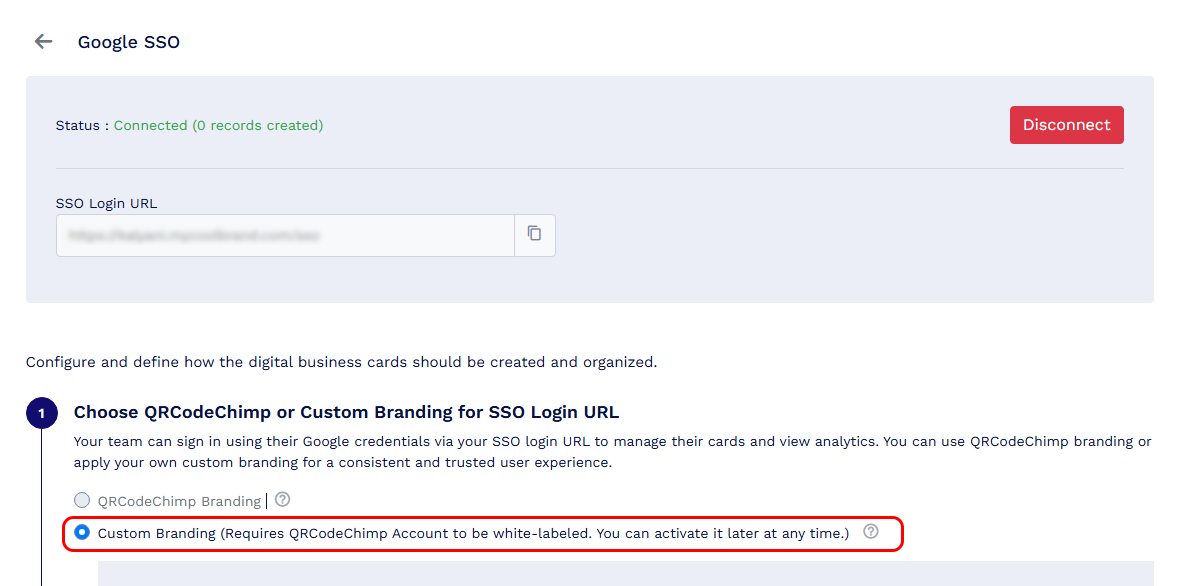
Select Custom Branding -
Copy the Authorized JavaScript Origin and Authorized Redirect URI shown in QRCodeChimp.
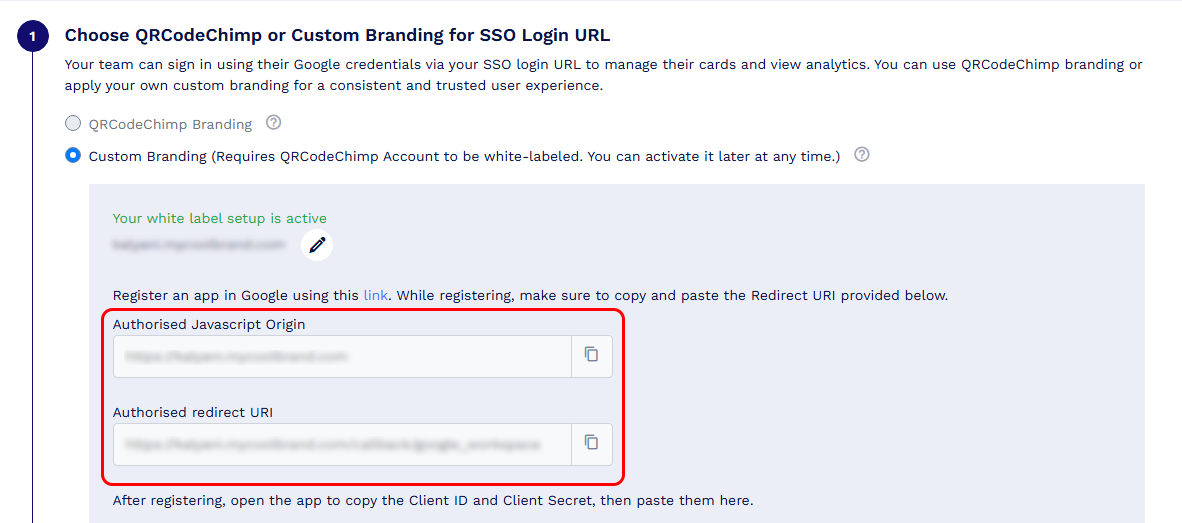
Copy Authorized JavaScript Origin and Authorized Redirect URI -
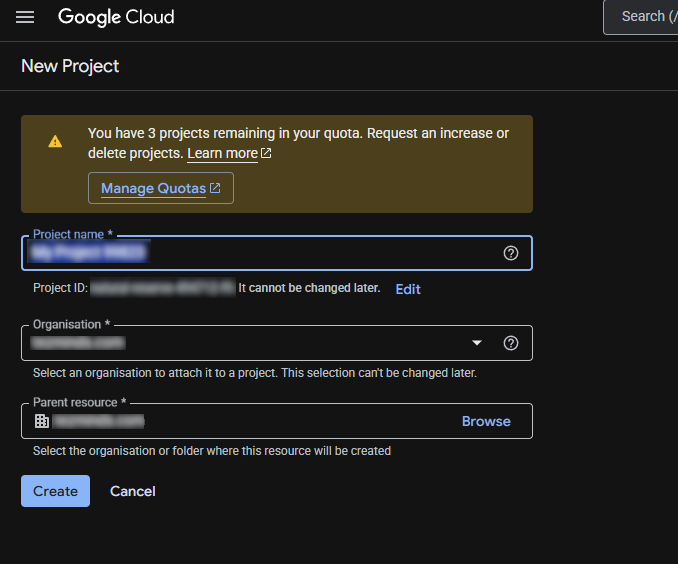
Open Google Cloud Console using the provided link and create a new project.
-
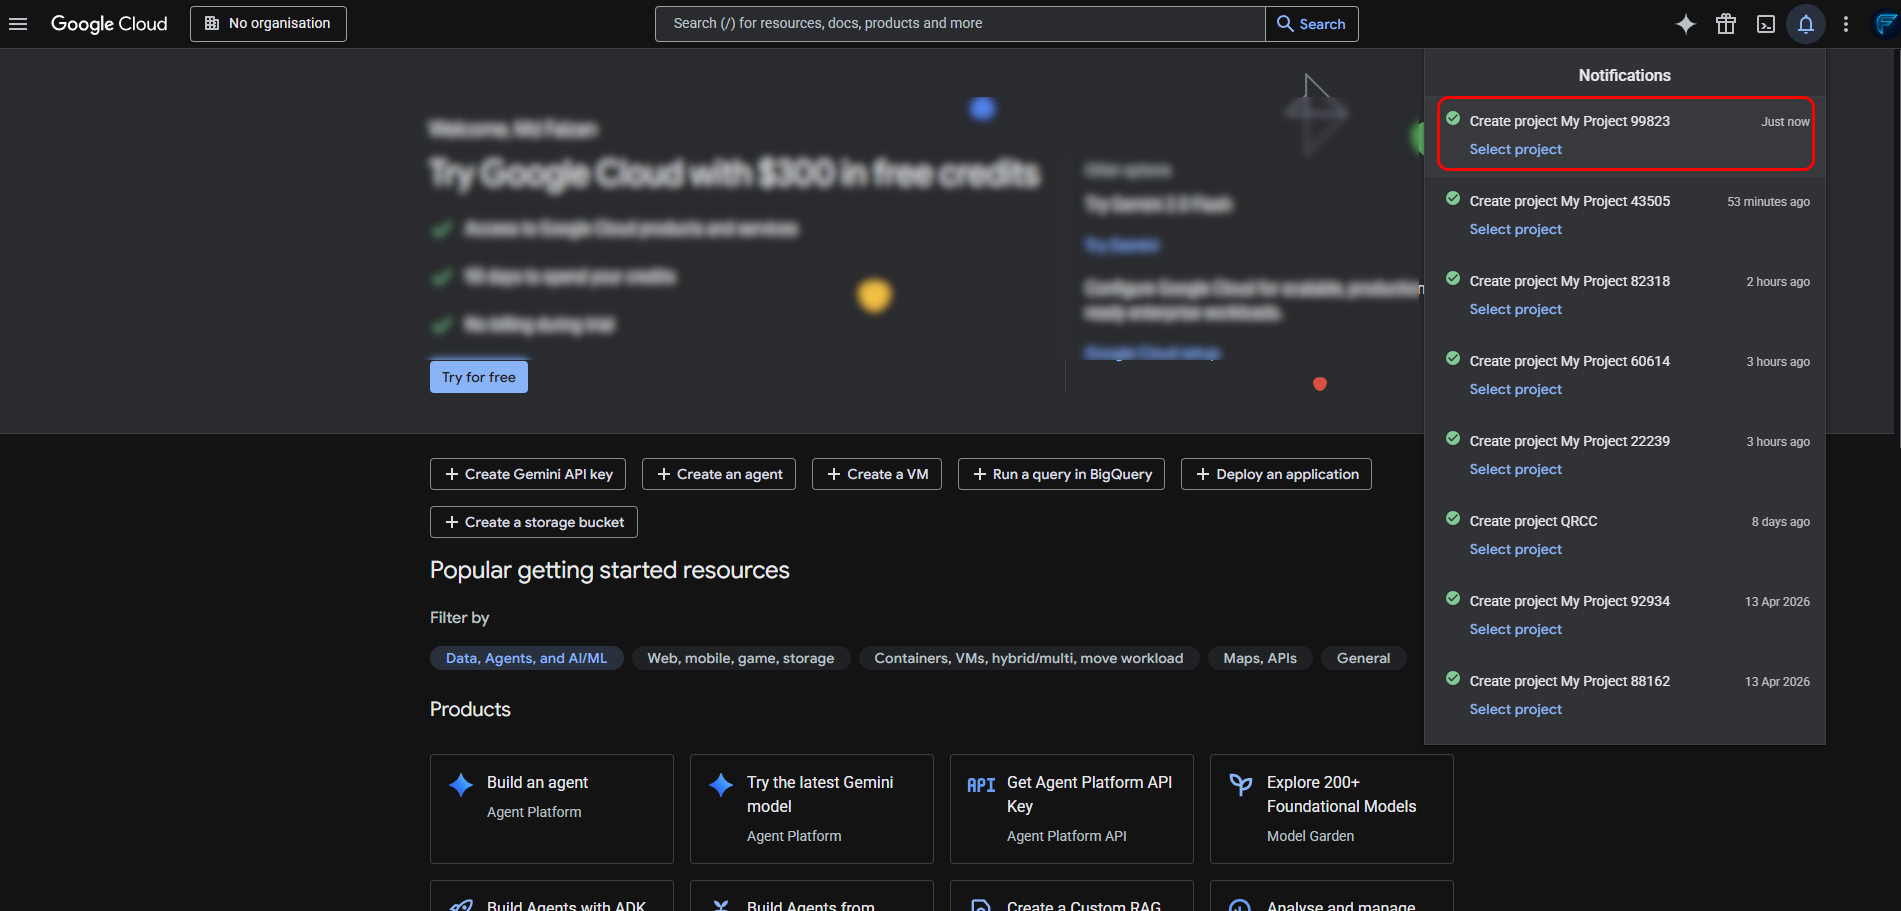
Select the newly created project.
-
From the left sidebar, go to APIs & Services and click Credentials.
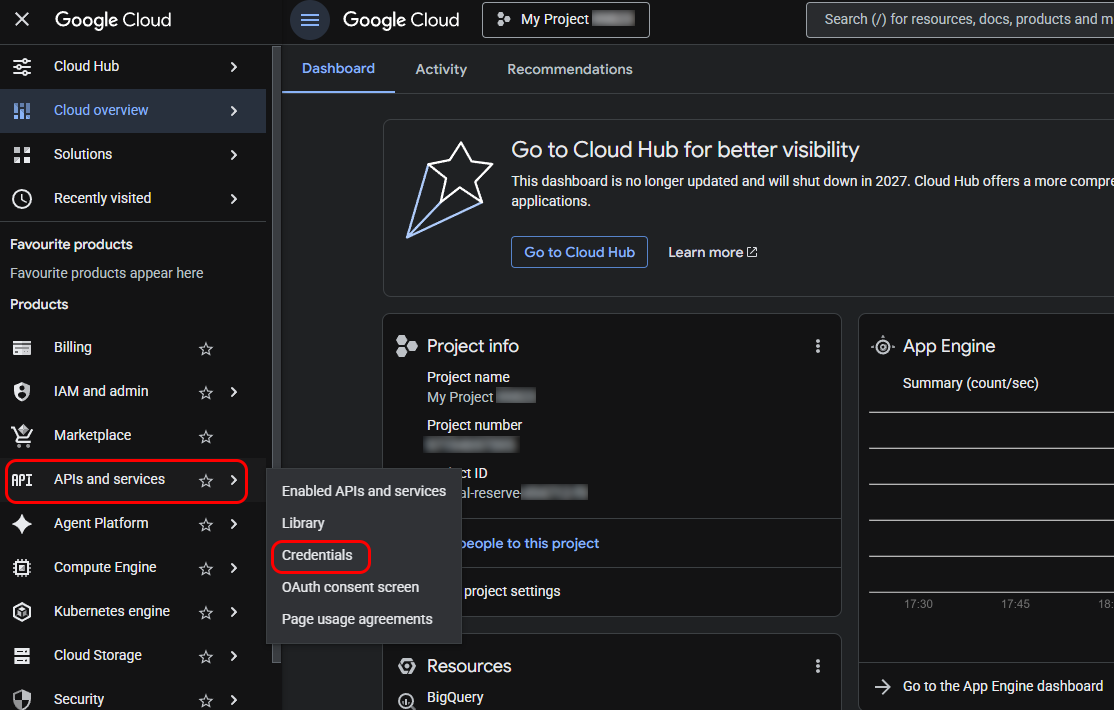
-
Click Configure consent screen, then click Get Started.
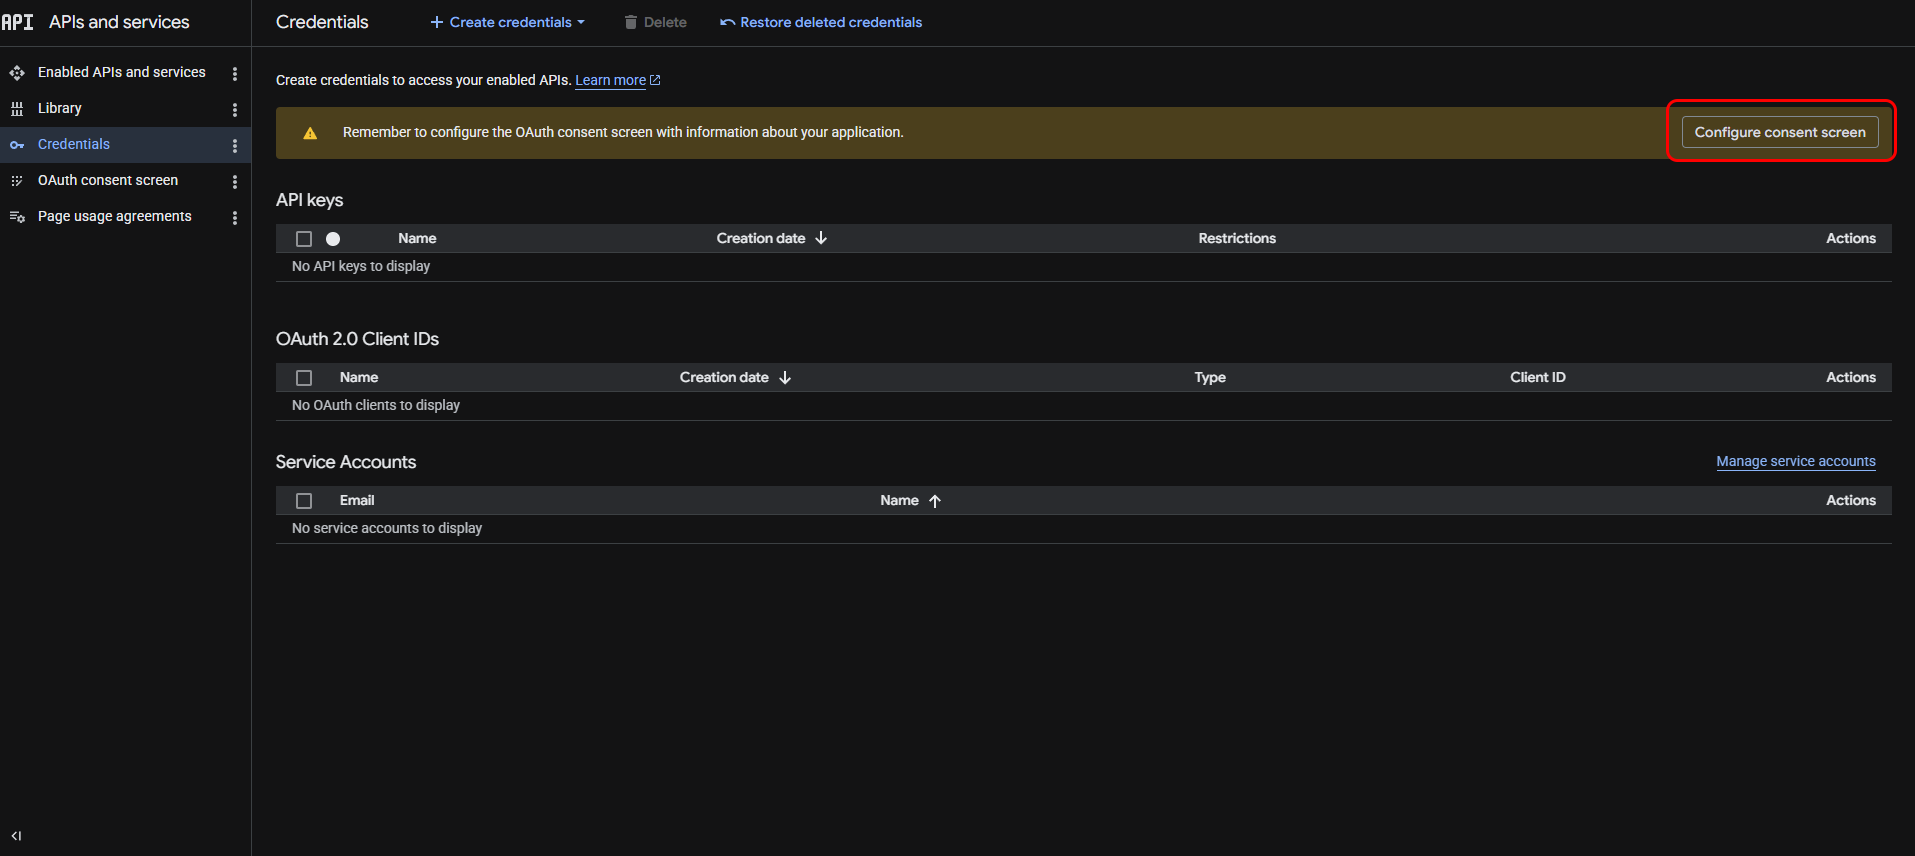
-
Complete the required consent screen details, including app information, audience, and contact information, then click Create.
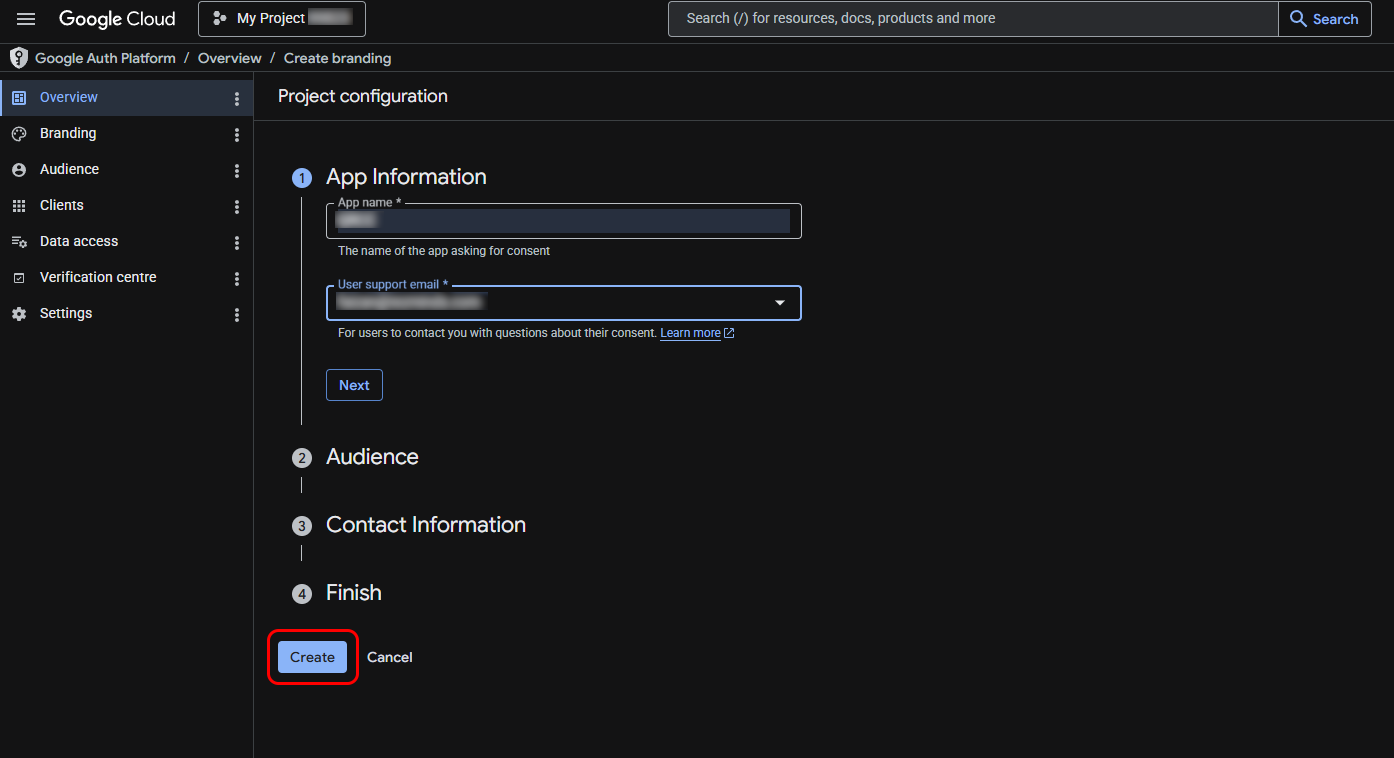
Configure App Information -
Go to Clients from the sidebar and click Create Client.
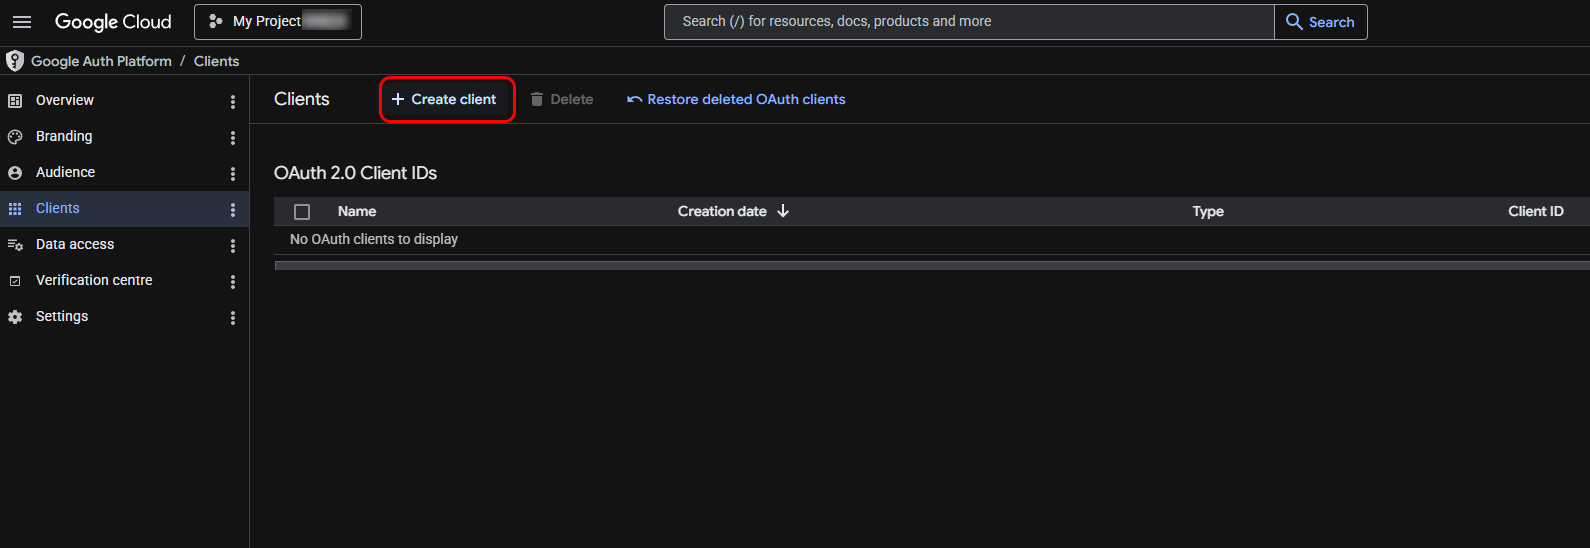
Click Create Client -
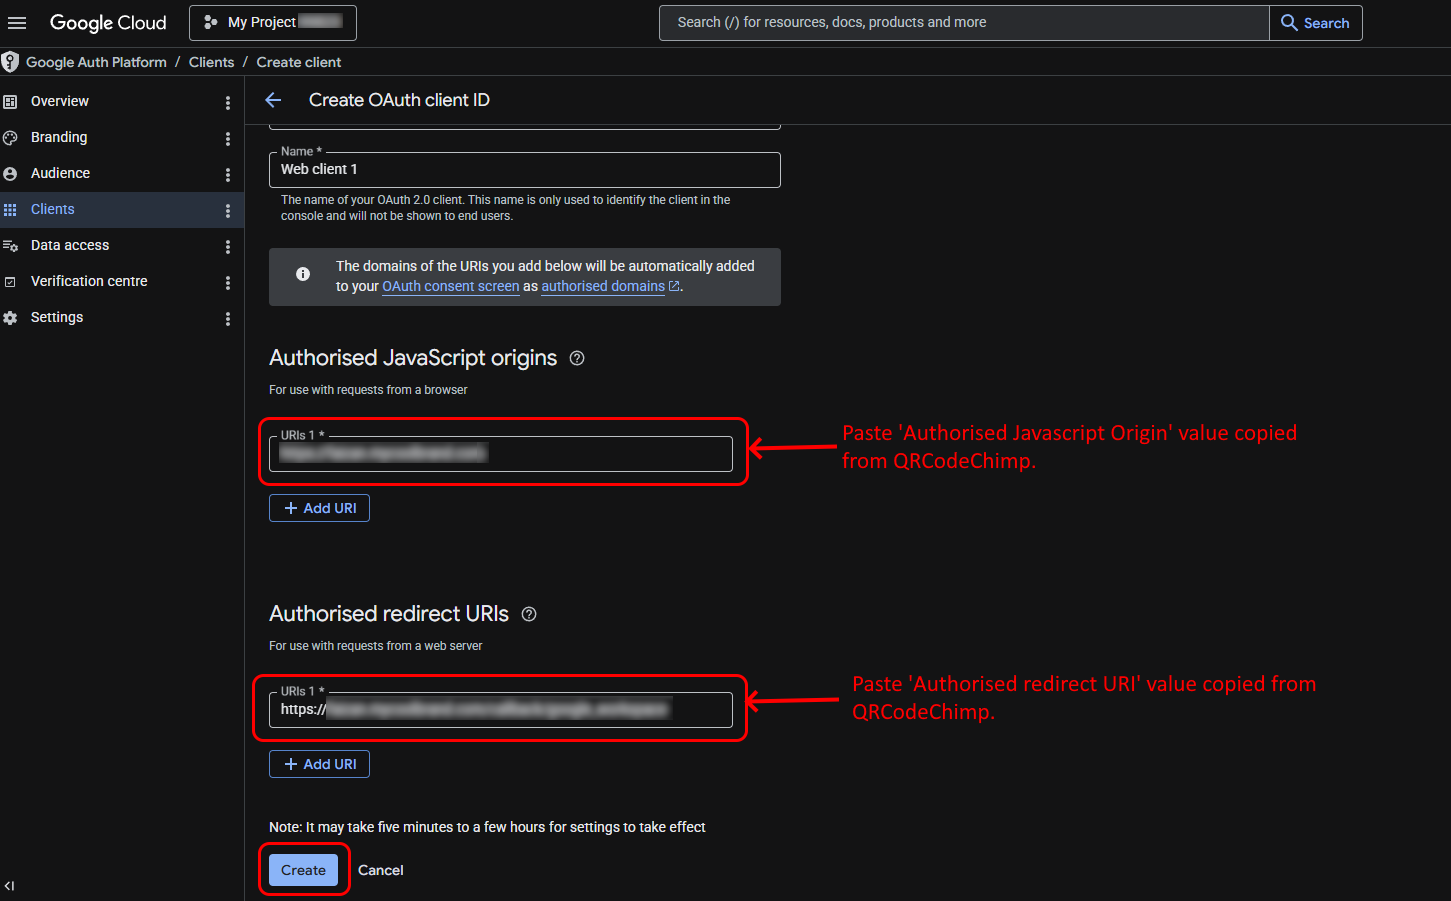
Select Web application as the application type.

-
Paste the Authorized JavaScript Origin and Authorized Redirect URI copied from QRCodeChimp into the respective fields and click Create.
-
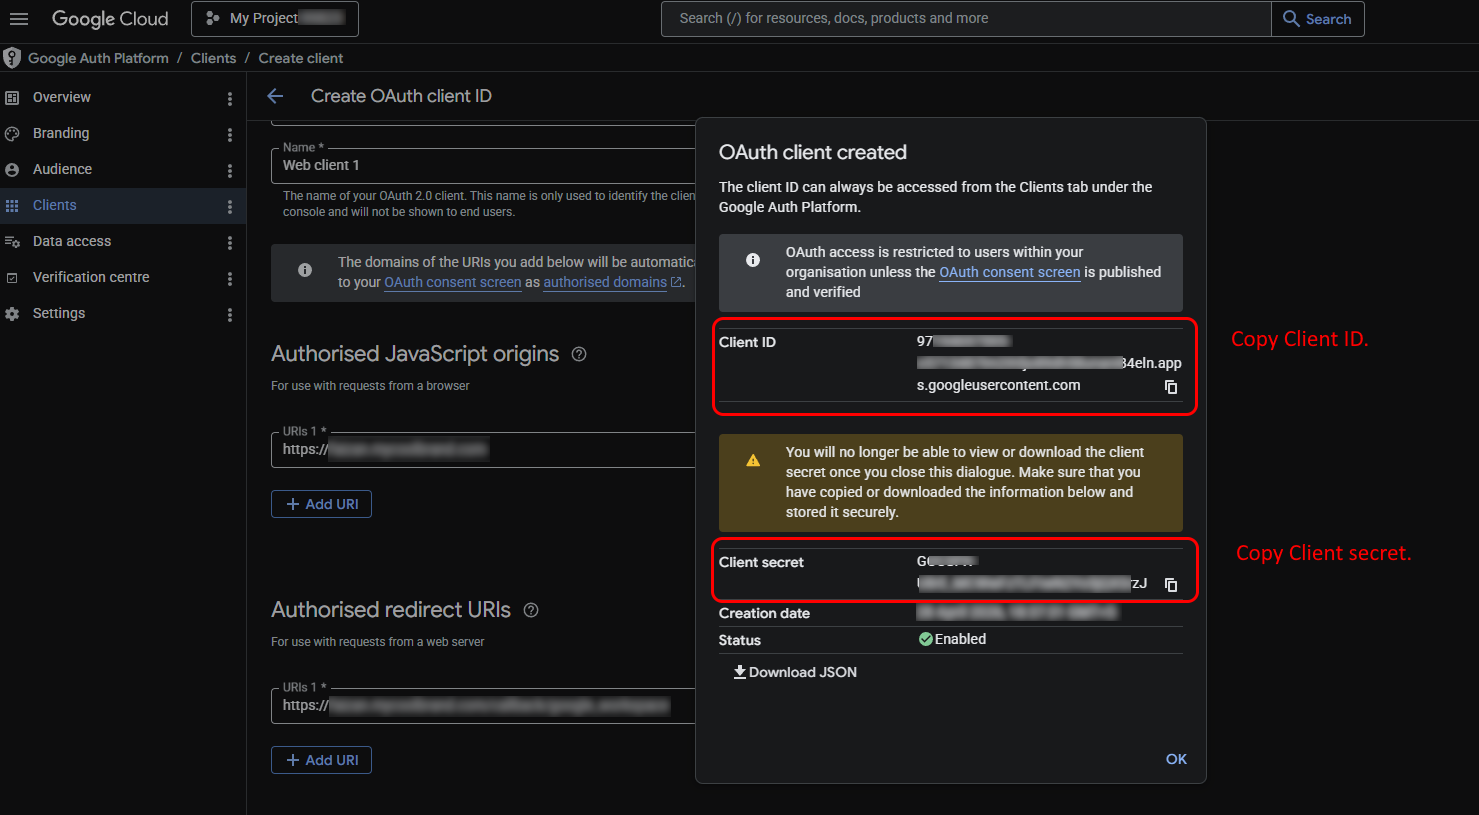
Copy the generated Client ID and Client Secret and paste them into the respective fields in QRCodeChimp.
-
Click Save & Continue in QRCodeChimp to complete the setup.


Note: Registering an app in Google Cloud is required only for Custom Branding in Google SSO. If you use QRCodeChimp Branding, you do not need to register an app in Google.