How to add Sub-Accounts?
You can create sub-accounts for your teammates or colleagues by following the steps below.
Important: The sub-accounts feature is available only on the Pro plan and above. If you are on a lower plan, you will need to upgrade to create sub-accounts.
Steps to add a sub-account
- Go to your Dashboard.
-
Click on the "Sub Accounts" option in the left panel.
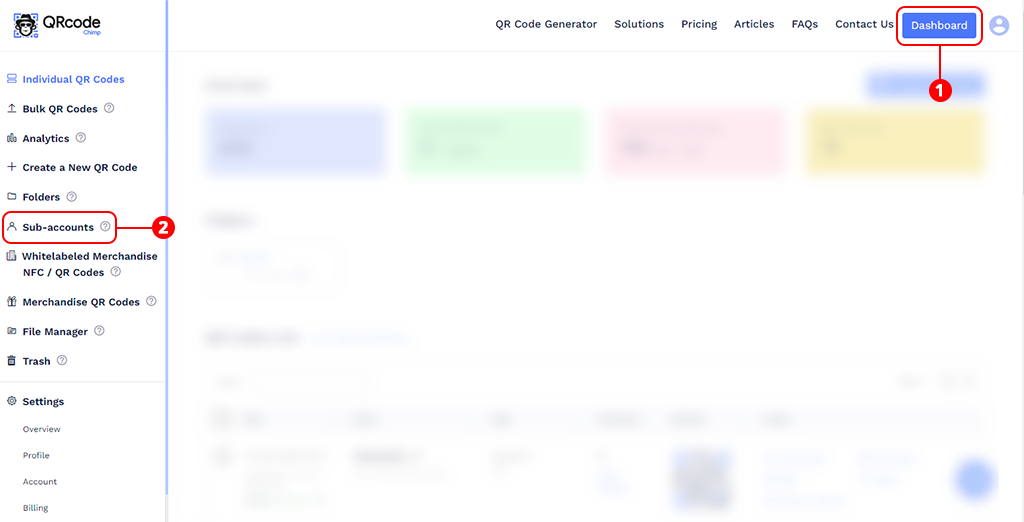
Go to Sub-accounts -
To add a sub-account, you must first create your Account ID. If you’ve not already created your Account ID, a pop-up will appear to proceed with sub-account creation.
Note: Your Account ID is a unique identifier for your QRCodeChimp account. It is a one-time setup—once submitted, it cannot be edited or changed.
-
Enter your Account ID using alphanumeric characters and click Submit. This Account ID becomes your Admin ID, under which all sub-accounts will be created.
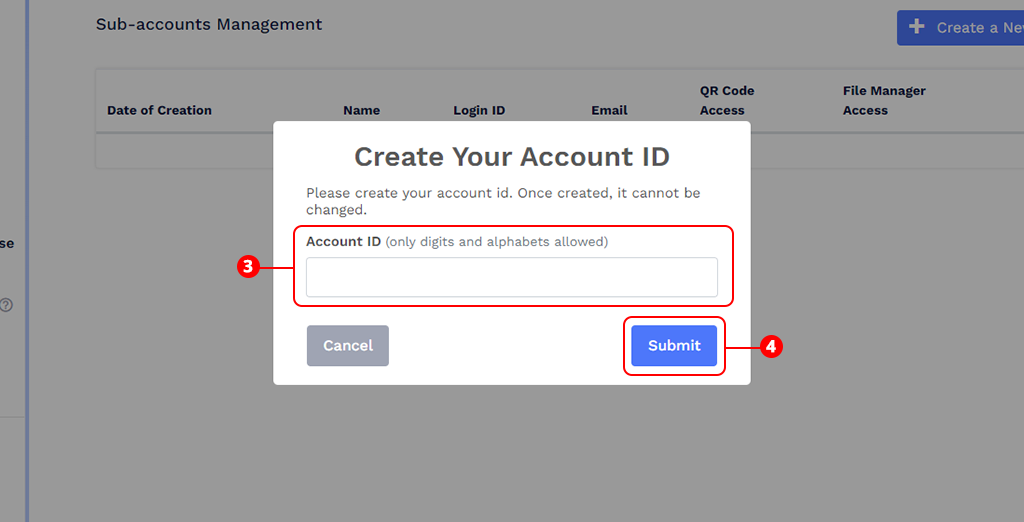
Create your Account ID -
After creating your Account ID, click the '+ Create a New Sub-account' button.
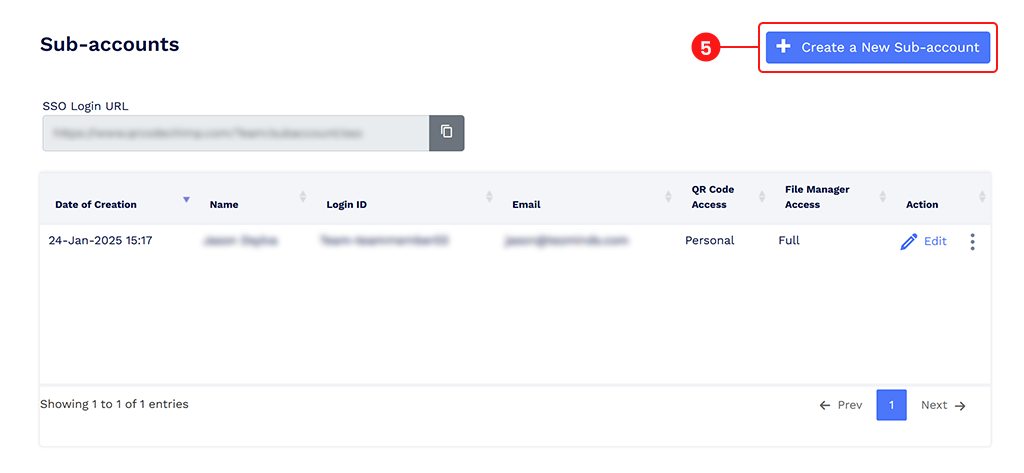
Click the 'Create a New Sub-account' button
-
A 'Create a New Sub-account' pop-up will appear. Fill in all the required fields, including the login ID for the sub-account (alphanumeric), first name, last name, and email.

Enter the Details - Select the "Access Type":
- Full – can access all QR codes
- Personal – can access only the QR codes created by the sub-account (self)
- Select the "File Manager Access Type":
- Full – can access all files in the file manager
-
Personal – can access only the files uploaded by the sub-account (self)

Select Access Type and click Submit
- Click Submit.


Once the sub-account is created, the user will receive an email containing all necessary login details, including the SSO login URL. Sub-account users can use the SSO URL to log in to their QRCodeChimp sub-account using their Google or Microsoft ID.
Tip: For a faster and more secure login experience, we recommend that sub-account holders use the SSO login option with their Google or Microsoft ID instead of manually entering their login ID and password to access their sub-account.