How to add a form before displaying a landing page or redirecting to a webpage?
Case 1: Add a form before displaying any landing page.
Here are the steps to add a form before displaying the landing page.
1. Select a component-based solution such as Digital Business Card, Product QR Code, or PDF Gallery based on your requirements.
2. Fill in the required fields.
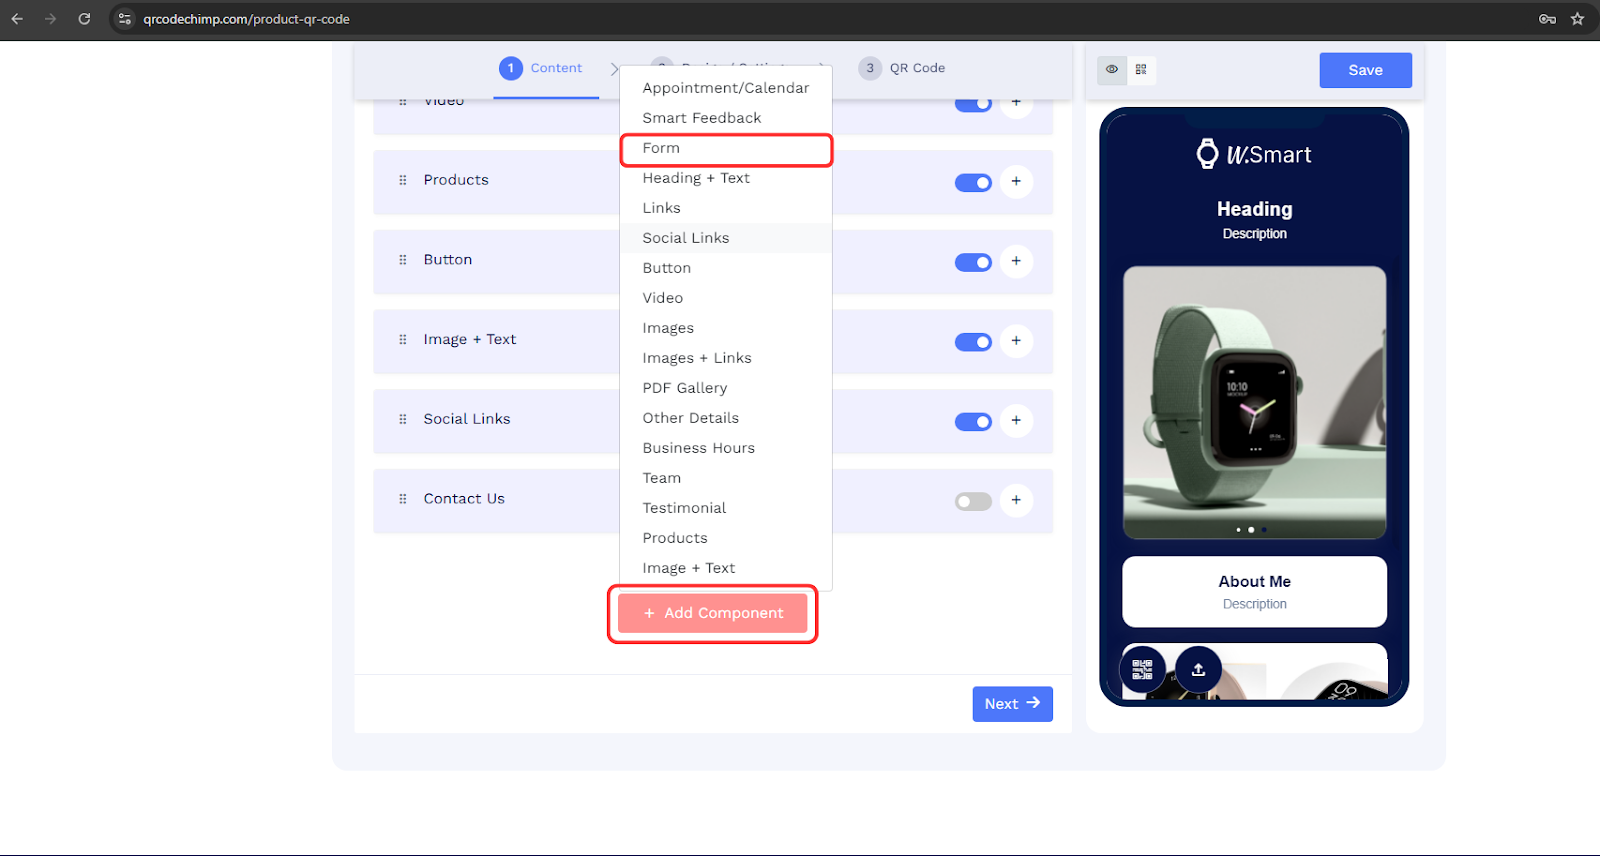
3. Click on the "Add Component" button and select "Form" to add a form to your page.
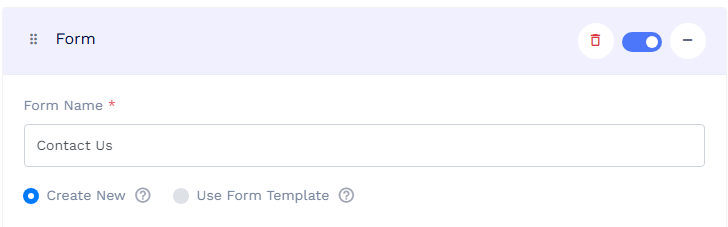
4. Enter your form title in the "Form Name" field and choose to either create a new form or use an existing form template.
5. In Form Settings, select the Overlay type (Overlay must be selected to display the form on top of the landing page.).
Note: If you want to allow users to dismiss the form without submitting it, enable ‘Allow to dismiss form’.
6. Choose the form size: Full screen or Popup.
7. Under "Show Form" options:
- Select "After Delay" and set the delay time. (It is recommended to set the delay to 1 second so the form appears immediately when the page loads.)
- Uncheck the "Don't show this form multiple times to the same user" option if you want the form to display on every scan.

8. Customize your form content by adding, removing, or editing fields as per your requirements.
9. Continue customizing your page and QR code design as needed.
10. Save your QR code to apply all changes.
Now, when users scan your QR code, the form will appear first. Once they submit or dismiss the form, they will be redirected to your landing page.
Case 2: Adding a Form before redirecting to a webpage.
You can use the Form QR Code solution to add a form before redirecting users to a webpage. However, automatic redirection to a webpage may not be possible. Instead, you will need to use components like links, buttons, etc., allowing users to click on your webpage link to visit the page after submitting the form.
Follow the steps given below to add a form before redirecting to a webpage:
1. Select the Form QR code solution.
2. Enter the required details, such as the brand logo, company name, etc.
3. Fill your form title in the "Form Name" field and choose to either create a new form or use an existing form template.
4. In Form Settings, select the Overlay type. (Overlay must be selected to display the form on top of the landing page.)
Note: If you want to allow users to dismiss the form without submitting it, enable ‘Allow to dismiss form’.
5. Choose the form size: Full screen or Popup.
6. Under "Show Form" options:
- Select "After Delay" and set the delay time. (It is recommended to set the delay to 1 second so the form appears immediately when the page loads.)
- Uncheck the "Don't show this form multiple times to the same user" option if you want the form to display on every scan, regardless of whether the scan is from the same device or a different one.
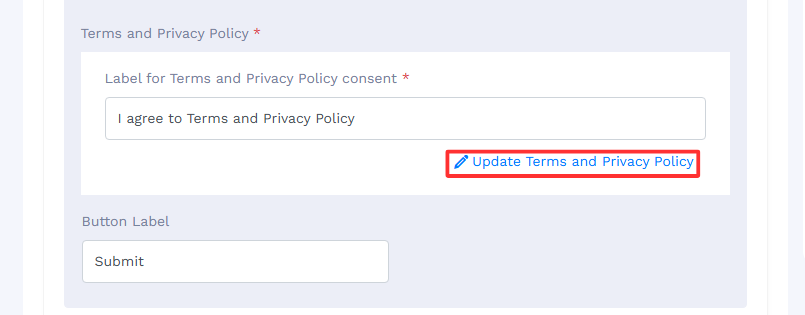
7. Update the Terms and Privacy Policy.
8. Customize your form content by adding, removing, or editing fields as per your requirements.
9. Click on the Add component, then select the Links option. Add your webpage link and Save.
10. Continue with the following steps: designing the page and customizing the QR code.
11. Save your QR code to apply all changes.
Now, when users scan your QR code, the form will appear first. Once they submit or dismiss the form, they will see a link or button that they can click to visit your webpage.